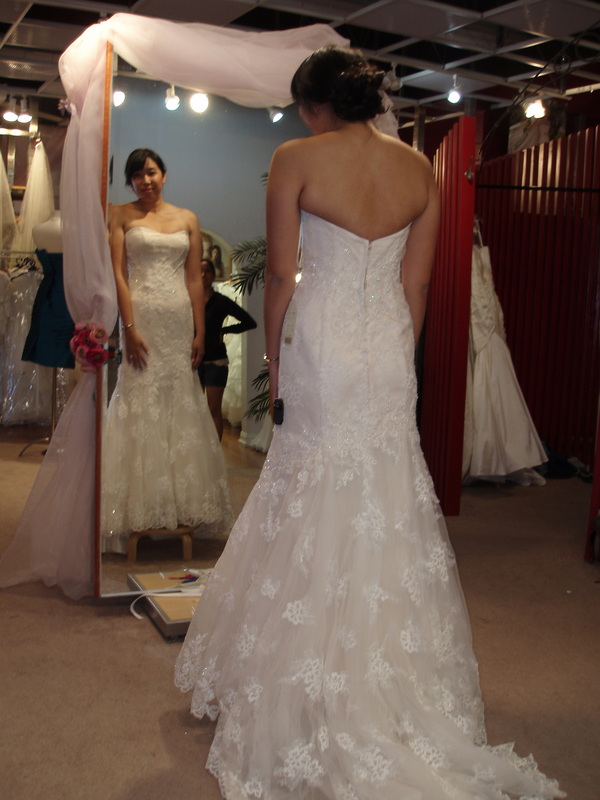
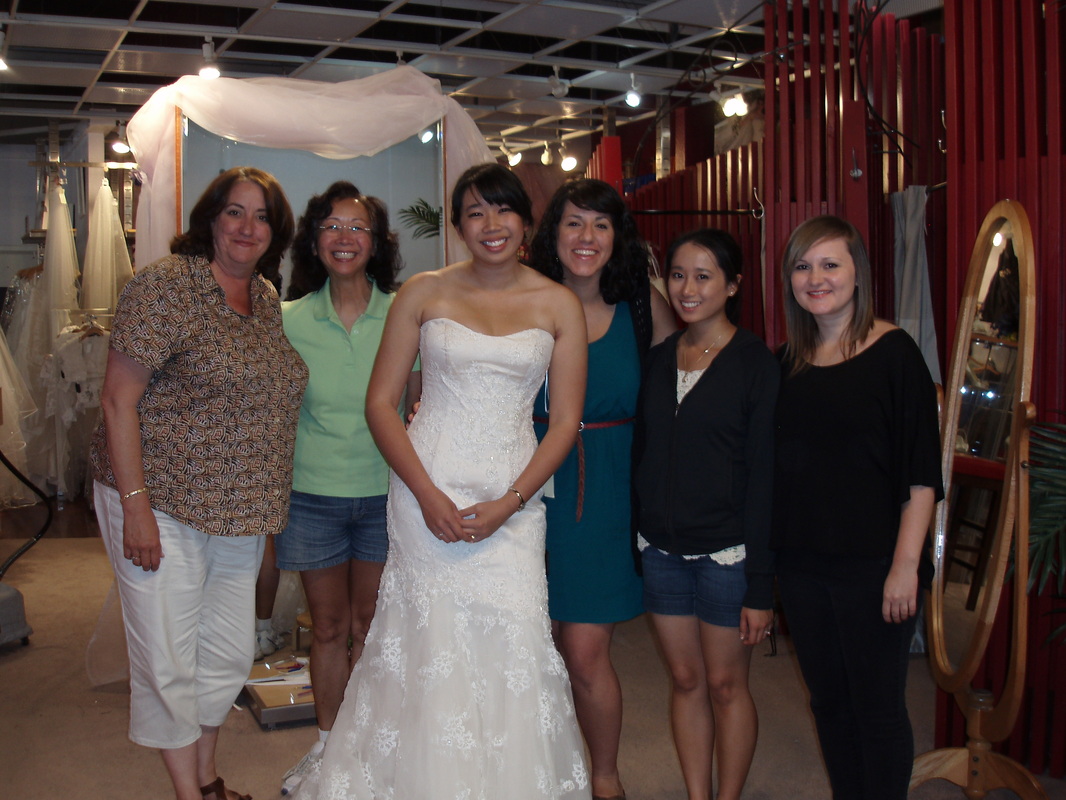
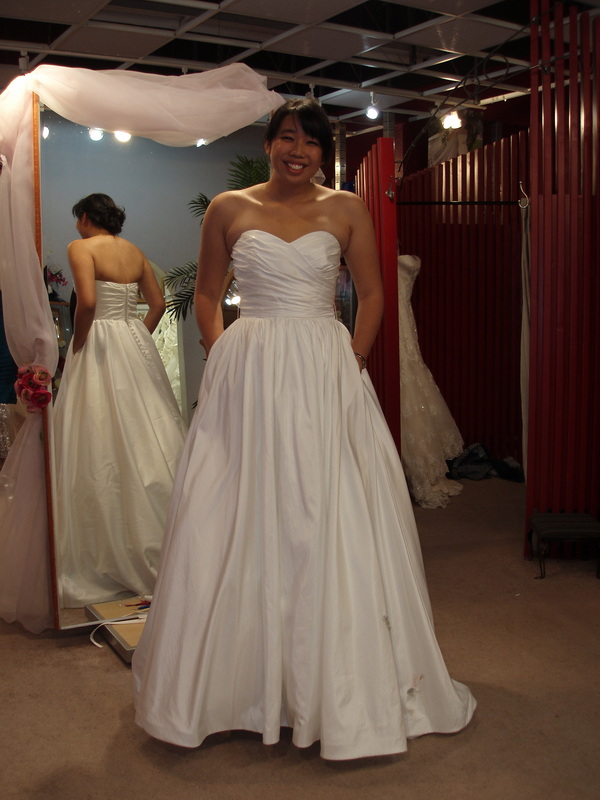
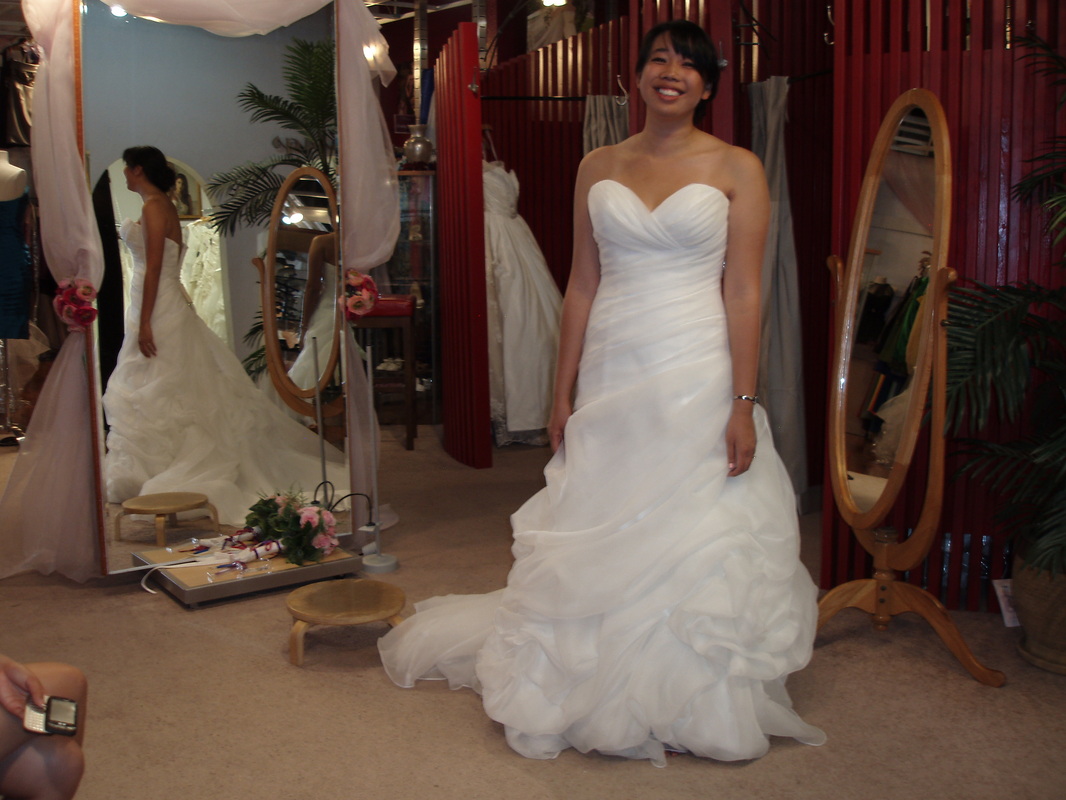
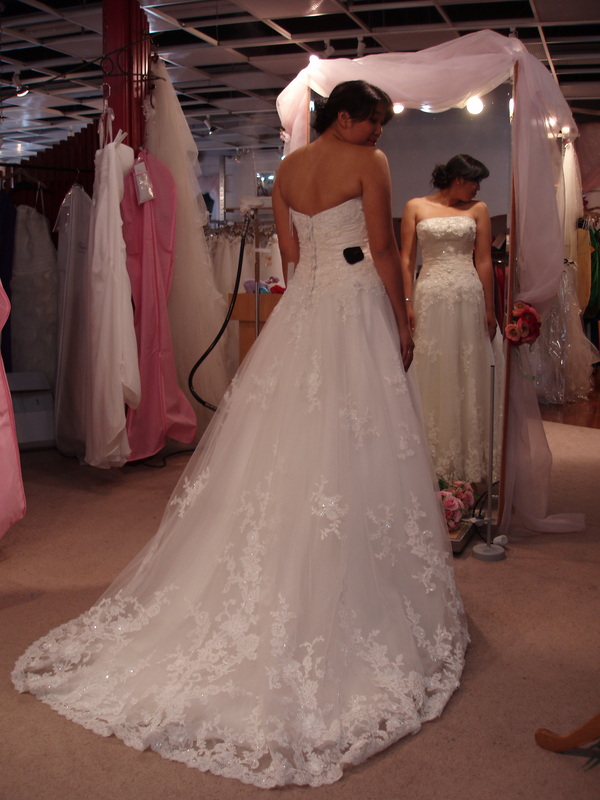
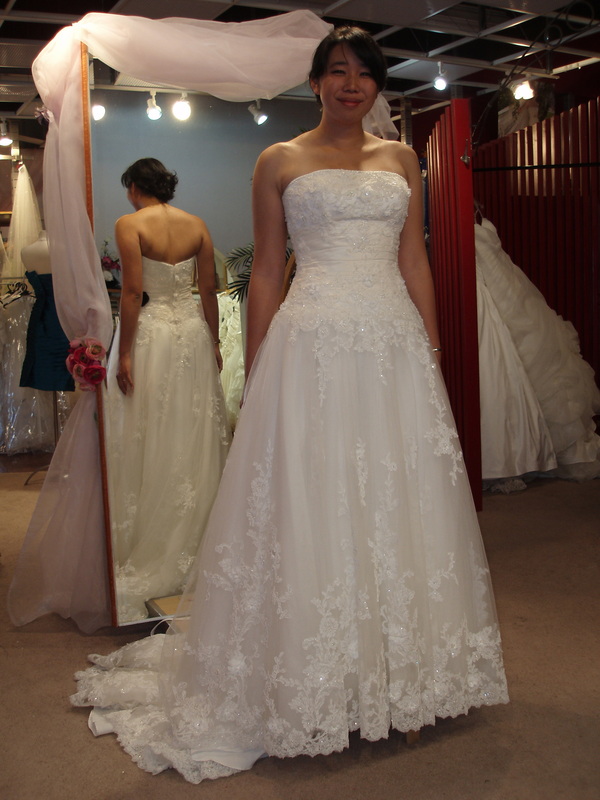
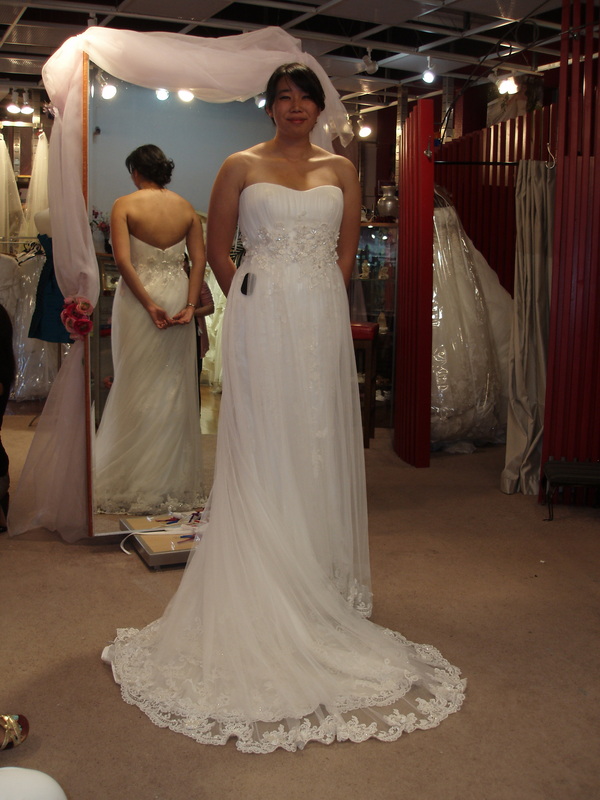
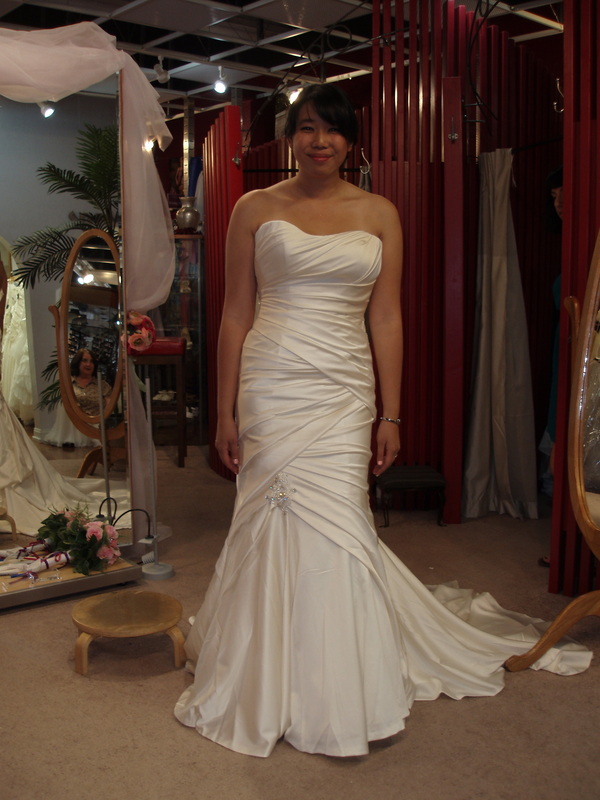
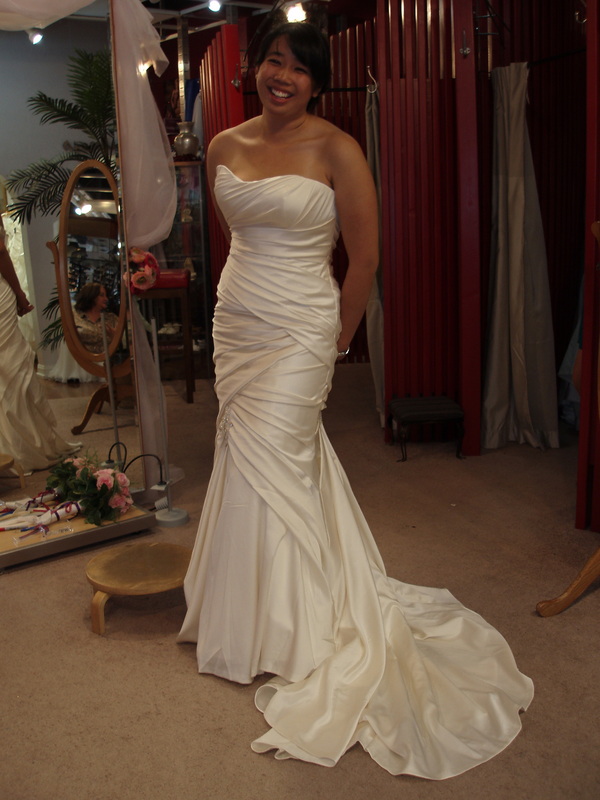
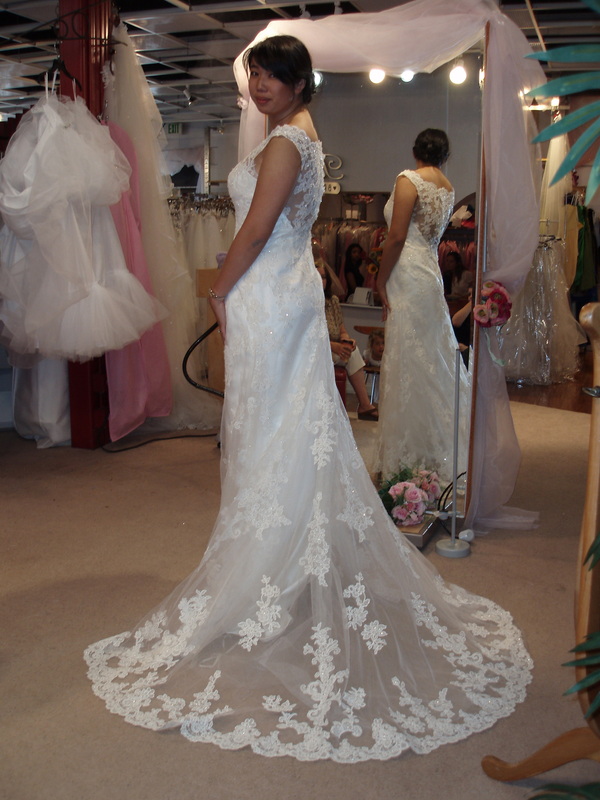
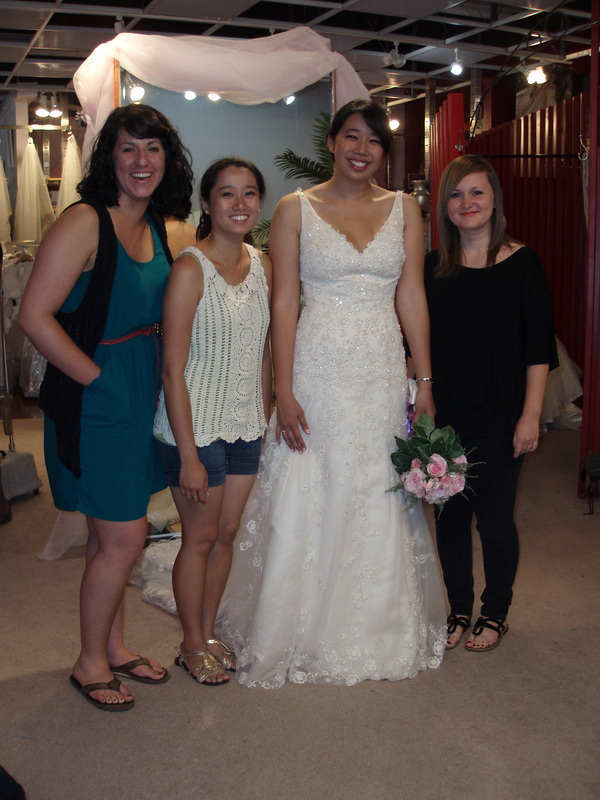
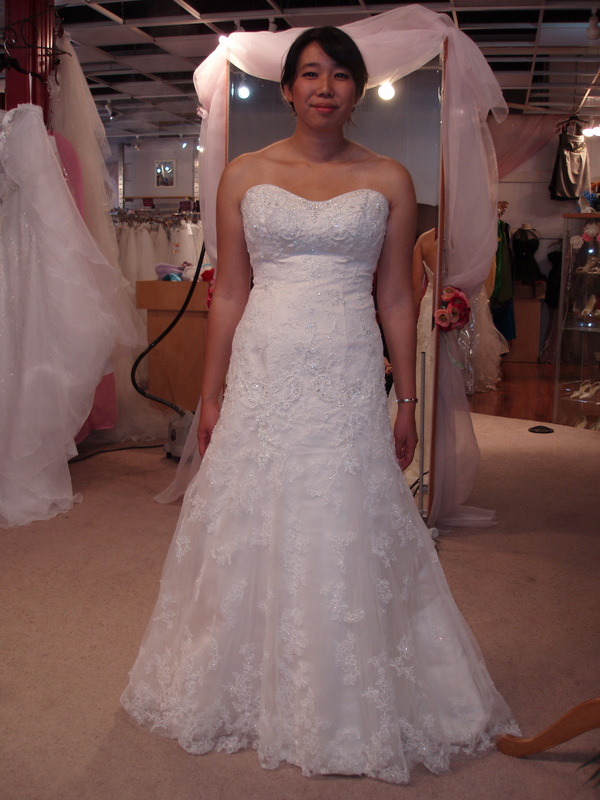
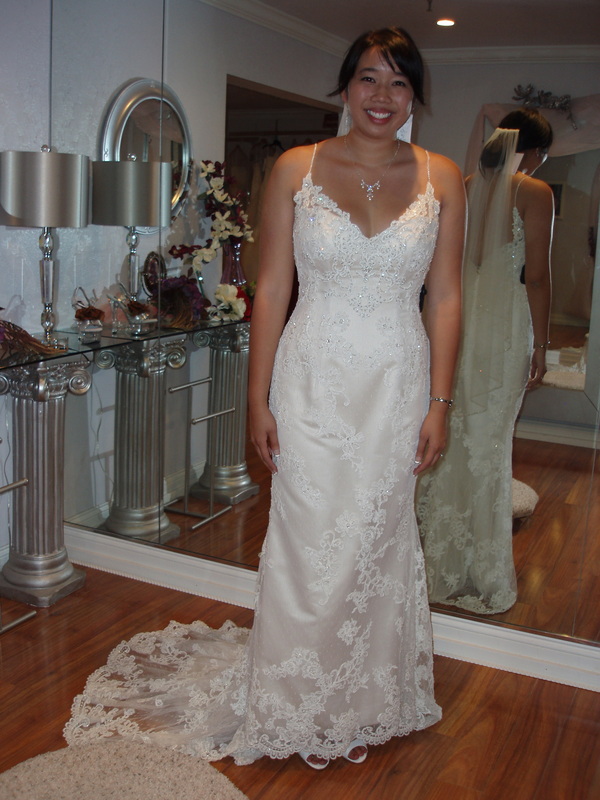
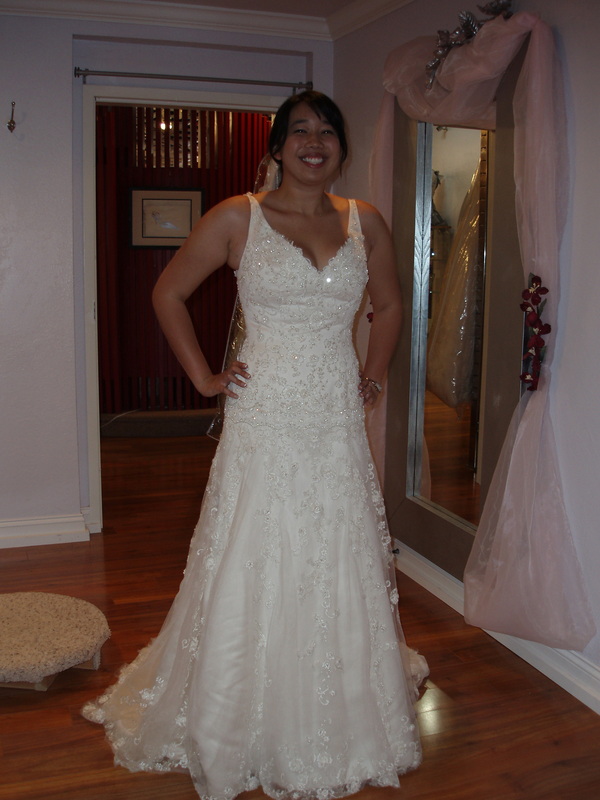
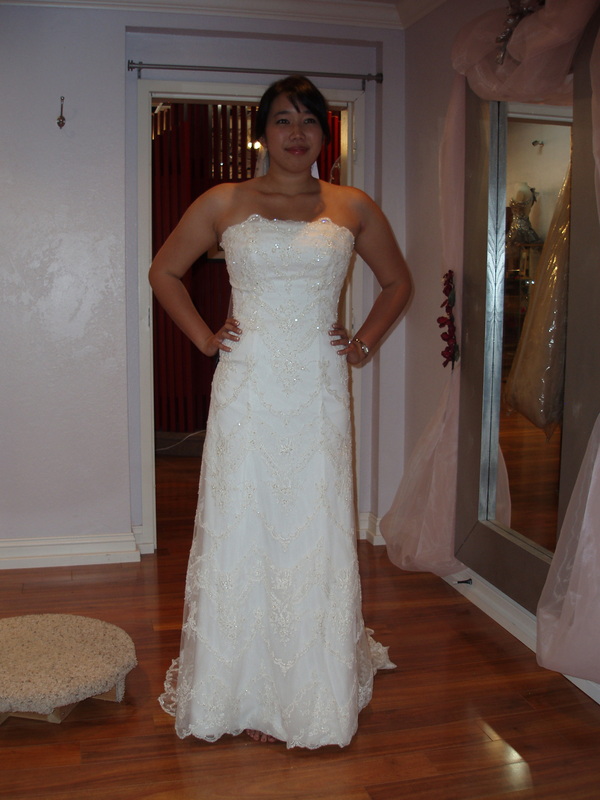
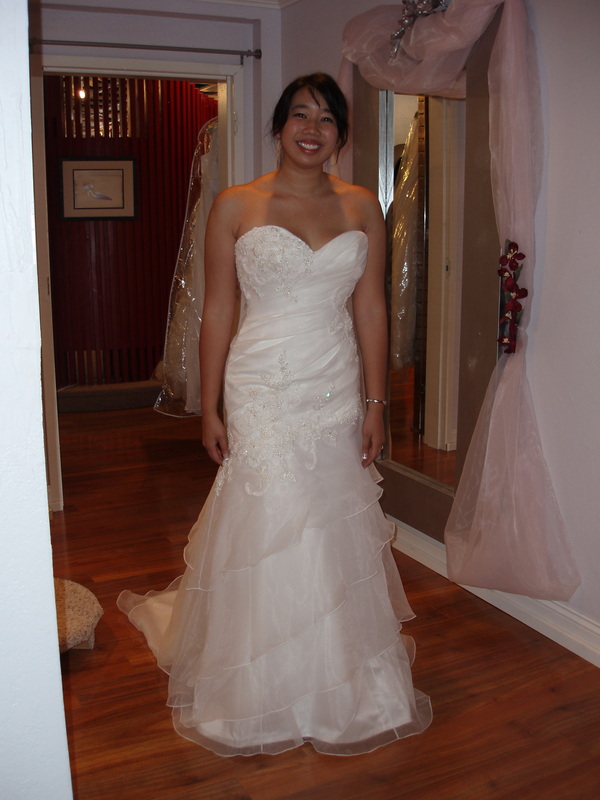
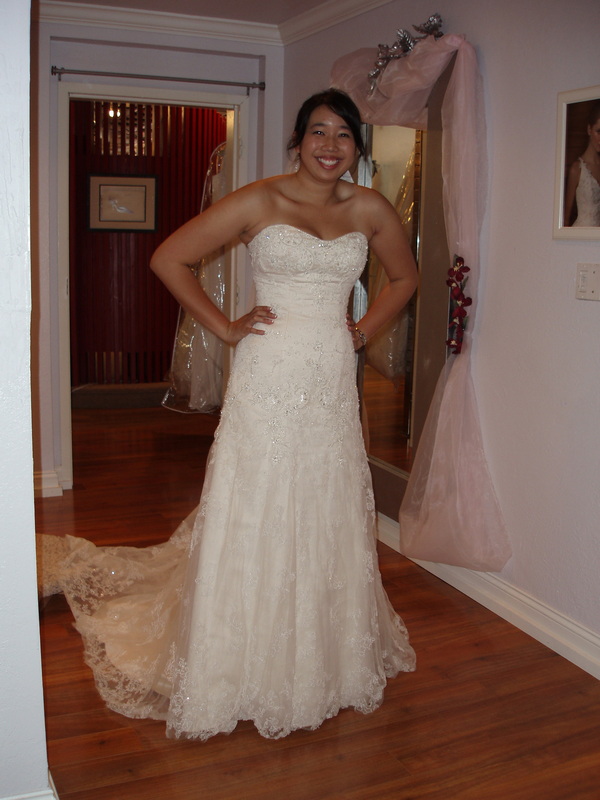
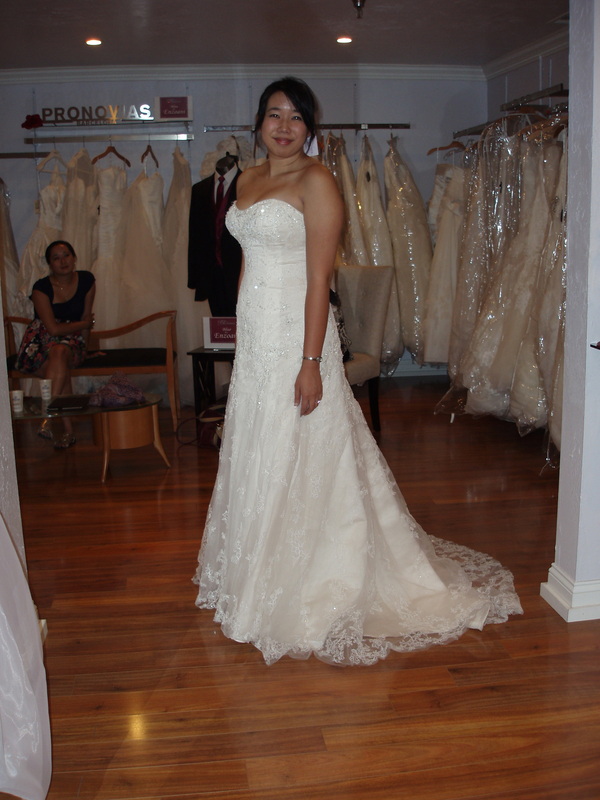
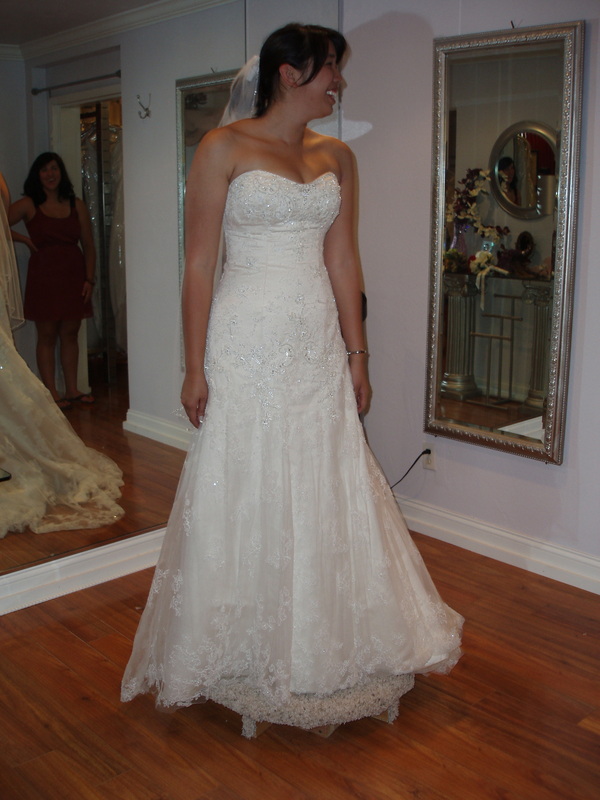
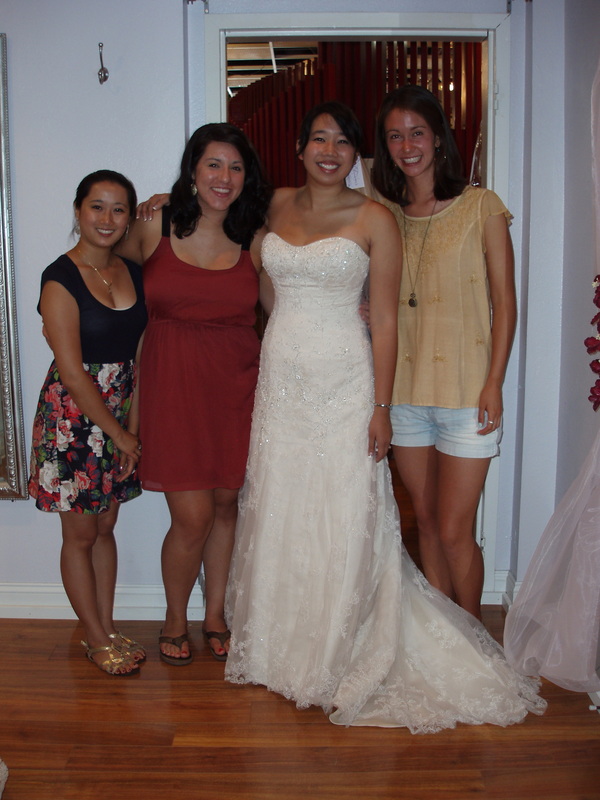
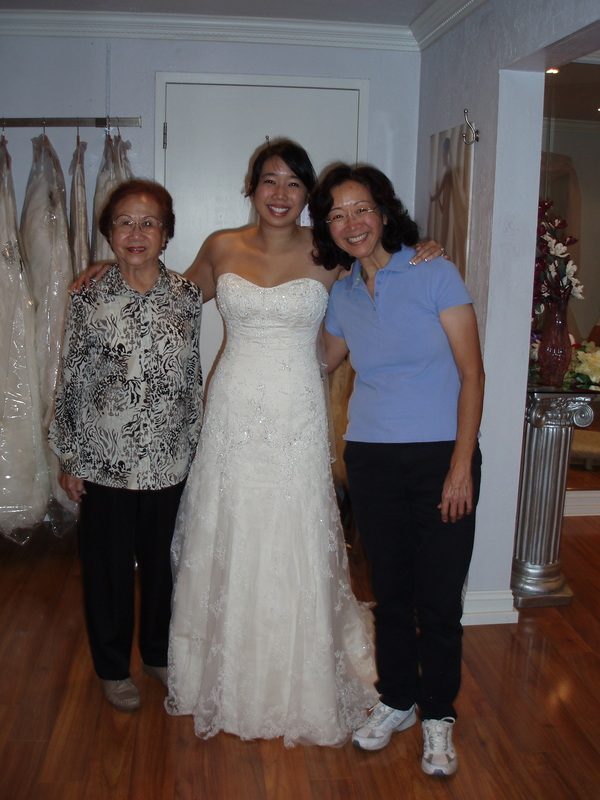
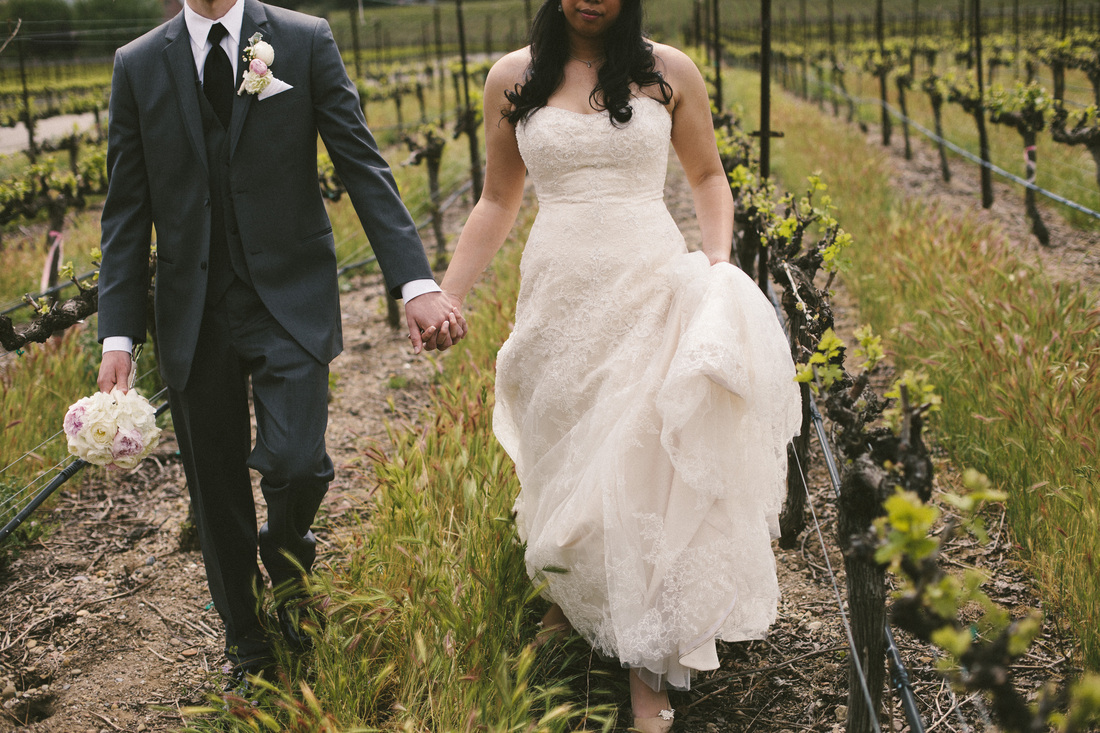
Now that the wedding is over I will share all the wedding dresses I tried on while in search for the ONE. It was so fun trying on the dresses! The last dress is the one I bought. It was perfect!


|
Now that the wedding is over I will share all the wedding dresses I tried on while in search for the ONE. It was so fun trying on the dresses! The last dress is the one I bought. It was perfect!
1 Comment
So much time and planning went into the wedding day that as soon as it was over I was absolutely relieved and in total bliss. Driving away with my new husband was like a dream. I could not believe how amazing it felt. And going off to our honeymoon the next day sealed the fact that we really were married!
But when we came home, there was still some wedding things to be done! Well...just one. The chore of legally changing my name. Just this past week, I finished up all the things I had to do to change my name. If you are a newly-wed bride: first of all, Congratulations!!! Second, I figured I could help you out with my experience and a checklist of what to do to legally change your name.
Well, I hope this helps! If there are any questions, leave a comment below! xoxox {csom} Hello friends! Last year I helped my best friend make her wedding shoes from this shiny patent leather wedge: 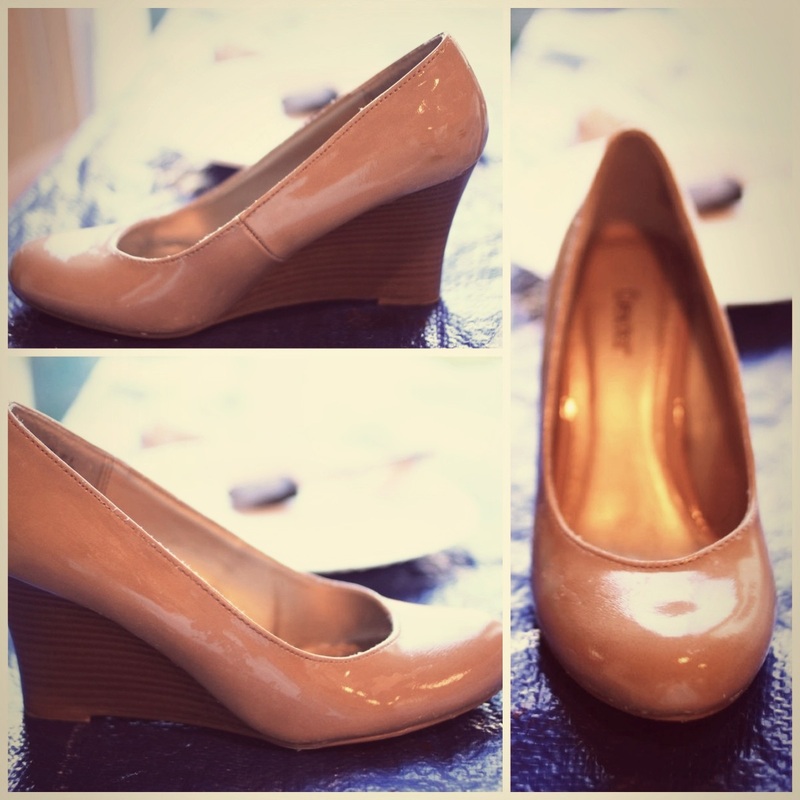 Into this soft, sparkly lace shoe: 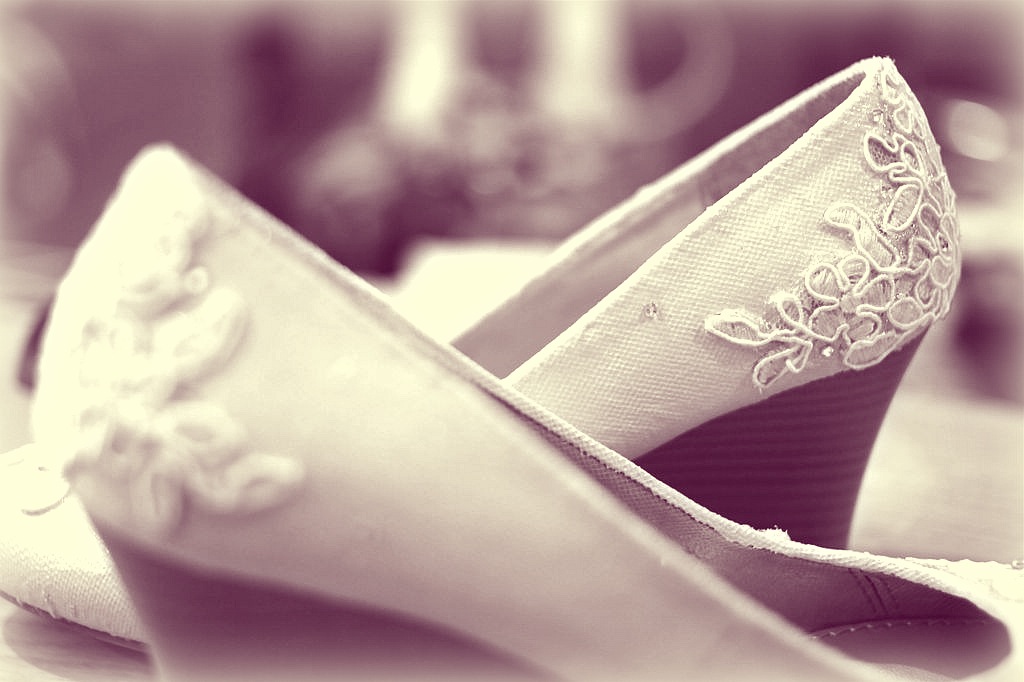 It only took us about a day and a half and here's how we did it! SUPPLIES: Shoes, Tacky glue, Mod Podge, sponge brushes, Q-tips, Lace, crystals, glitter paint, and tulle. 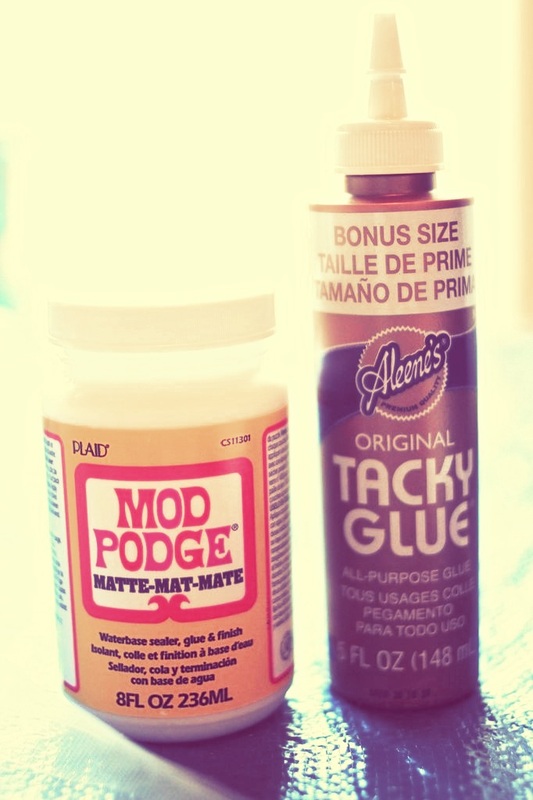 First, make sure the shoes are nice and clean. Then pour out the Tacky Glue on a plate. Take your sponge brush and apply an even coat of Tacky glue onto one portion of the shoe. Spread the glue so that it is nice and smooth. Only spread glue on sections at a time, not the whole shoe at once. If the shoe has a seam to it, I suggest following that. The patent leather on her shoes had a seam and we used that as a guideline. 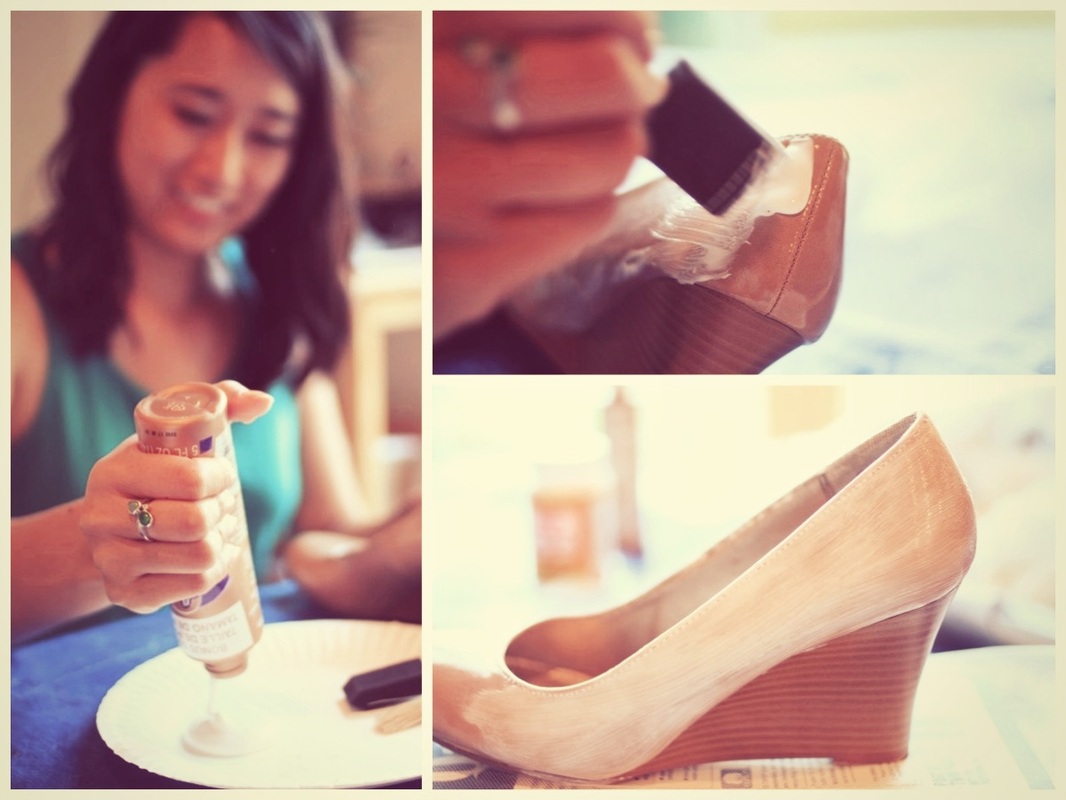 Next take fabric (we had tulle) and hold it in a relaxed state (not too stretched) and place it onto the glued area. Pat it down so that it is completely smooth on the surface of the shoe. Smooth out any air bubbles of gathered fabric. 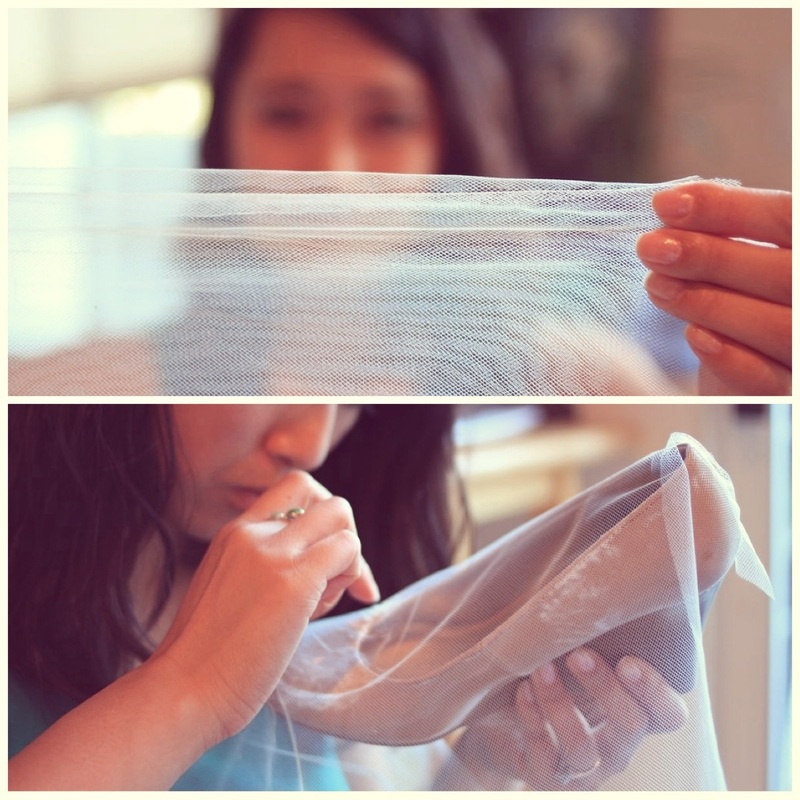 Next use some scissors and trim the excess fabric for that particular area. Make sure you leave some space on the edges though, because you are going to want to fold it over on top, and trim it underneath. The toe can be a little tricky depending on what fabric you use. No matter what, just make sure that the fabric remains as smooth as possible on the shoe itself. For the tulle, I simply used my fingernail to push the tulle into the ridge where the leather met the sole. 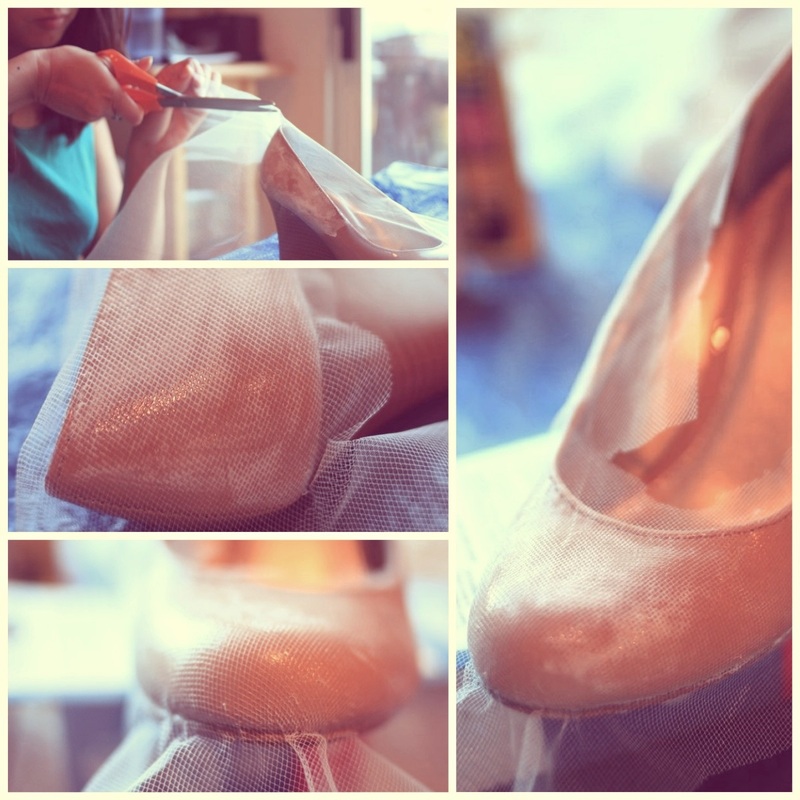 Then, take a Q-tip and dip it in extra Tacky glue. Use it to fold over the tulle into the inside of the shoe. Make sure you have enough glue on Q-tip to seal the fabric on. Trim any more extra fabric. Then for the heel, you can use scissors to trim the extra fabric. However, I found that a cuticle trimmer works perfectly for getting it trimmed perfectly. I used tweezers and the cuticle trimmer to slowly trim along the bottom of the shoe. 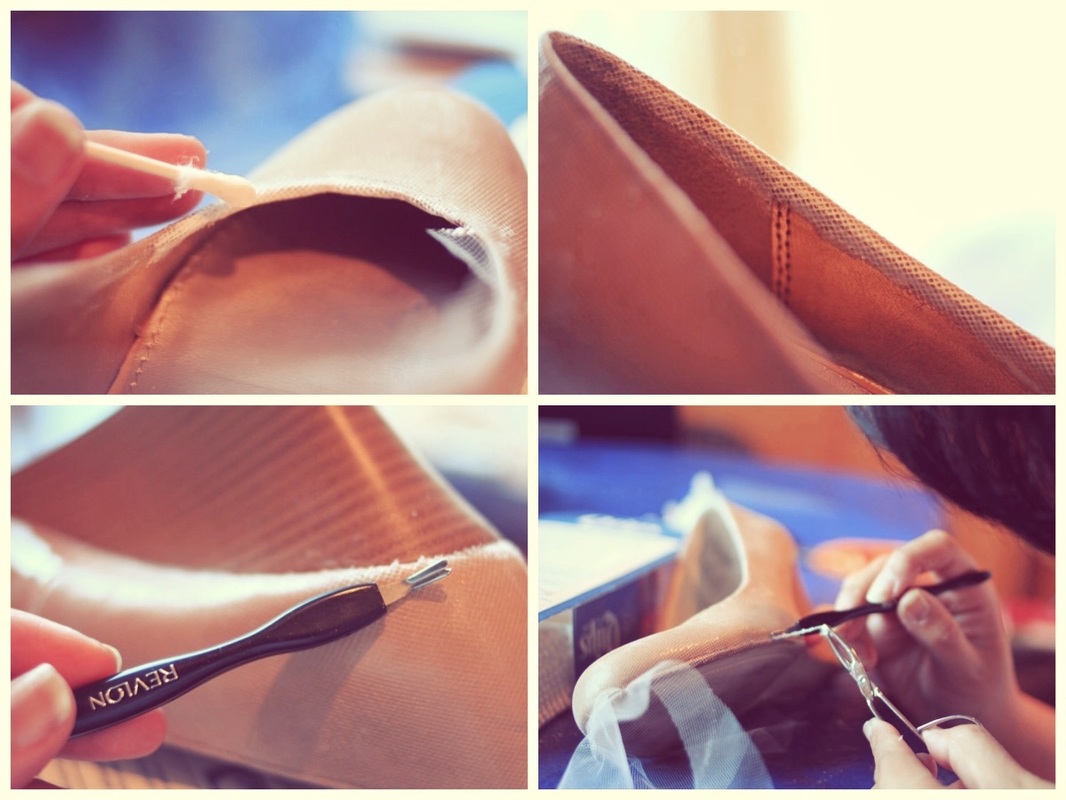 Next, take some lace and cut it into pieces that the can arrange on the shoe. I would suggest arranging the pieces on the shoe before glueing them so that you know what kind of pattern you want. Then use some more Tacky glue and glue the pieces on! 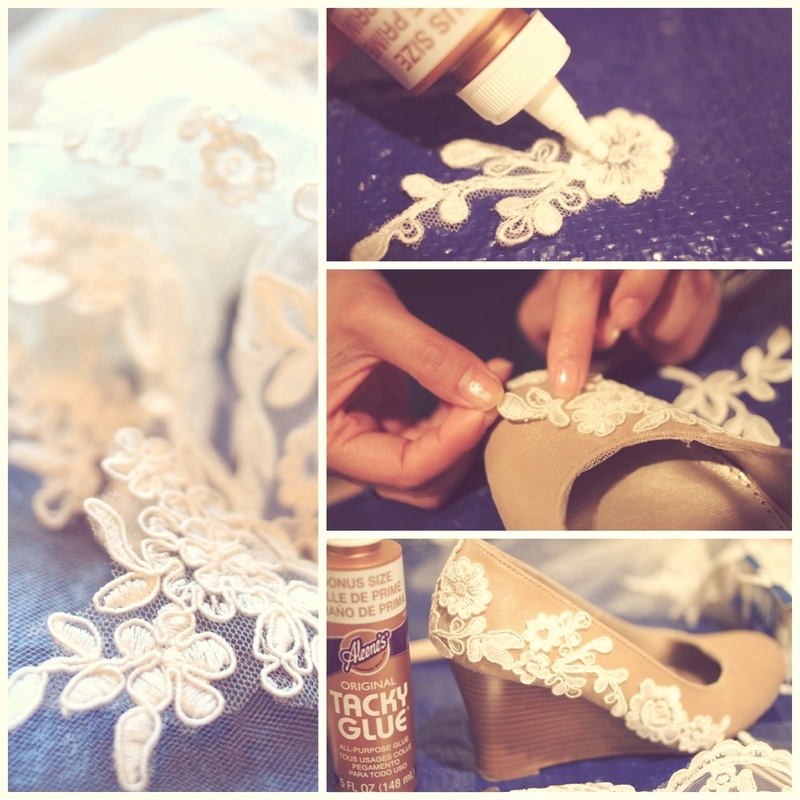 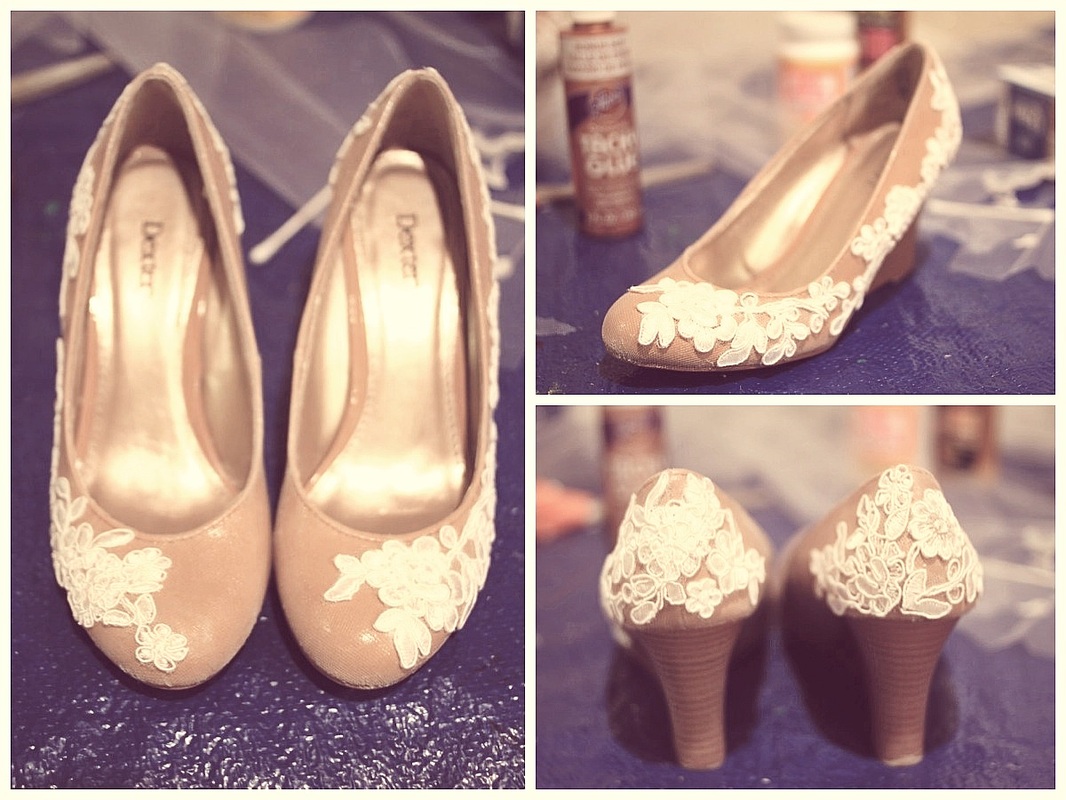 After the first night of working on the shoes, Jenny went home and added some cream/ivory colored glitter paint. Above is what the shoes looked like before the paint. If you want to paint the shoes though, I would suggest that you paint them before putting on the lace (right after the tulle step was done). But anyway, we came back and she added some crystal details to the shoes by simply glueing them on in different places (the crystals were bought from Michaels craft store). 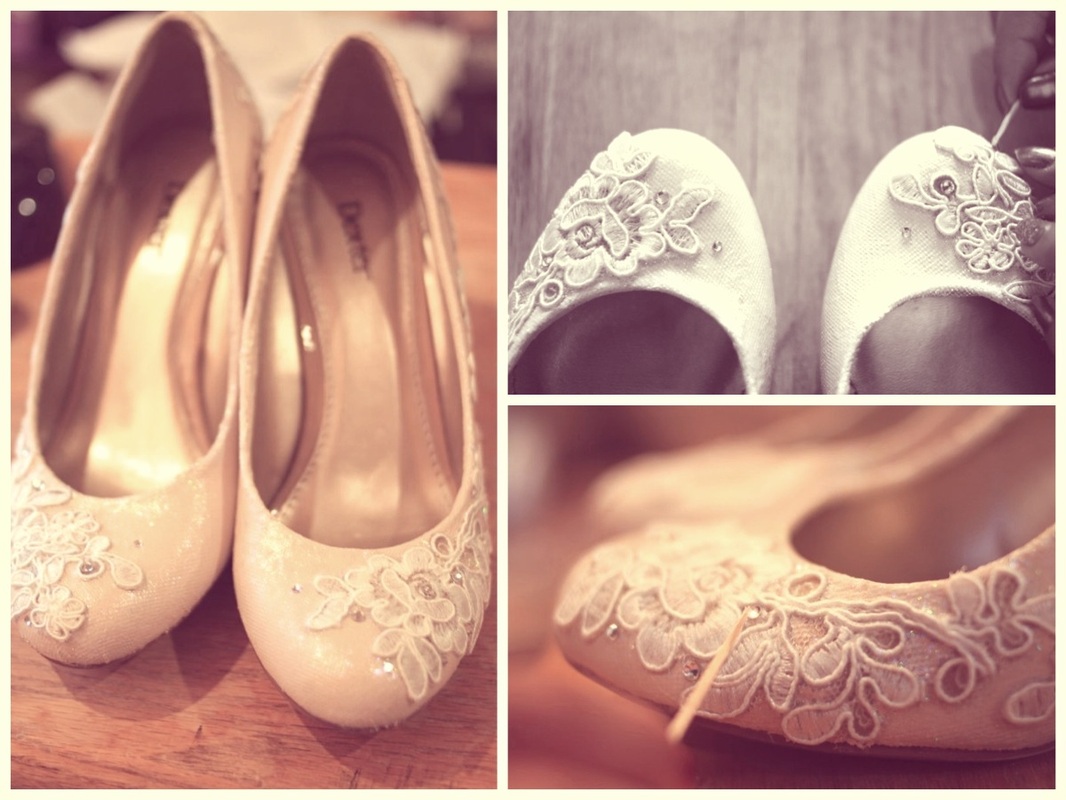 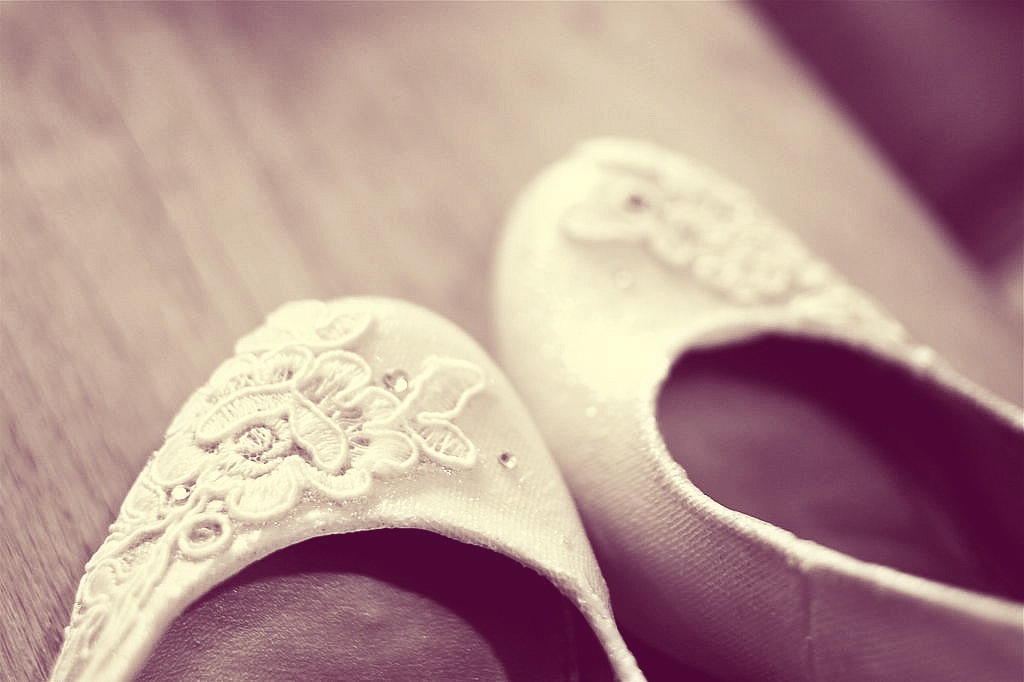 Lastly, paint a thin coat of mod podge all over the shoe to seal everything together.
And voila! You have beautiful lace shoes! Happy DIYing! xoxox {csom} |
 RSS Feed